Edit
the Main Document
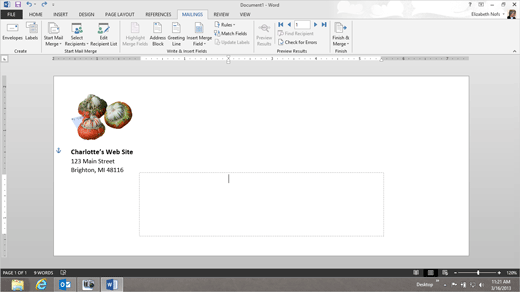
After you select the Recipients, you should see a new document: A business envelope.
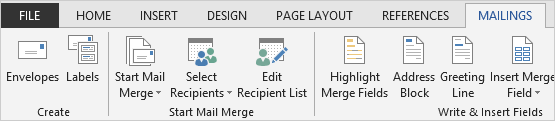
Read the Mailings Ribbon from left to right: We have completed the all of the steps in the first Mailings group: Start Mail Merge.
Start Mail Merge
Start Mail Merge: Envelope
Select Recipients: Use Existing List.
Now, we'll go through the steps in the second group: Write & Insert Fields.
7: Before You Begin: Edit the Envelope
Please add a picture and return address to
the upper corner of the envelope.
Now, click in the center of the
envelope.
You should see a Text box.
The borders are light blue.The mail merge fields
go here.
Keep going...
Memo to Self: Please do not move the Text Box for the addresses.
This Text Box is specifically placed according to US Postal
guidelines so that the addresses can be scanned with a bar code
reader.
Exam 77-425 Microsoft Word 2013 Expert
3.0 Create Advanced References
3.3 Manage forms, Fields, and Mail Merge Operations: Insert Mail Merge Fields